Hello everyone, welcome back at porkaone. On this occasion, we will share tips on how to increase Windows 11 RAM with virtual memory. How do you do it? Follow the tutorial below.
Virtual memory is additional RAM borrowed from PC or computer storage memory.
It is called virtual memory because it is not actual RAM, but allocates a
small amount of computer hard drive or SSD storage space to be used as virtual
memory.
This virtual memory can help the PC deal with an overload on RAM. So if the
physical RAM is full, virtual memory will help lend storage space. The way
virtual memory and RAM work is almost the same, which functions as a temporary
data store. For a more detailed explanation about RAM, you can search on
Google or YouTube.
Unfortunately, virtual memory has a lower speed than hard drives or SSDs, even
so virtual memory is needed when the RAM load increases, such as running too
many applications. On the Windows operating system, you can set the desired
amount of virtual memory storage yourself. The method is quite easy, follow
the tutorial below.
How to Create Virtual Memory in Windows 11
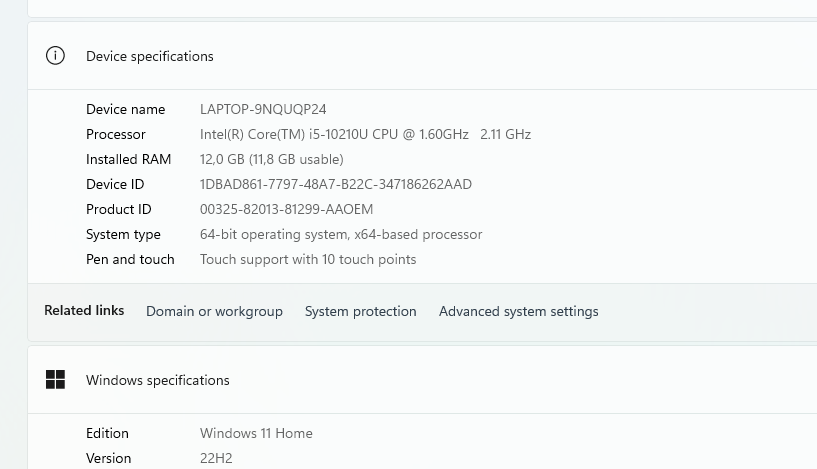
1. Open file explorer → right click on This PC → click properties2. choose advanced system settings
3. Then select the advanced tab → then in the performance section click settings
4. Then select the advanced tab → in the virtual memory section, click change
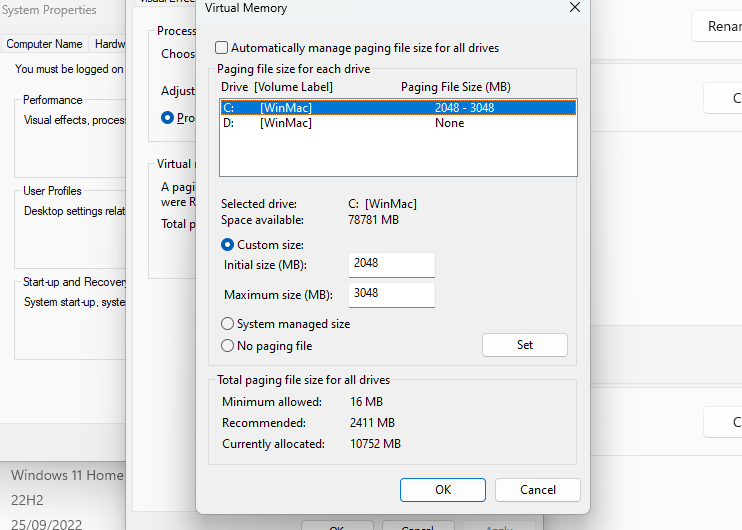
5. Then uncheck automatically manage paging file size for all drives → select the drive → click custom size → fill in the initial size and maximum size according to the capacity you want → then click set.
6. Paging file size is automatically added according to our previous settings → then click ok.
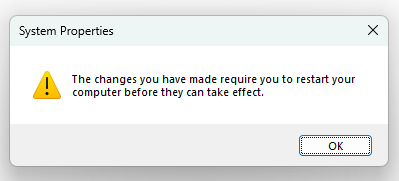
7. Click ok on the popup that appears
|
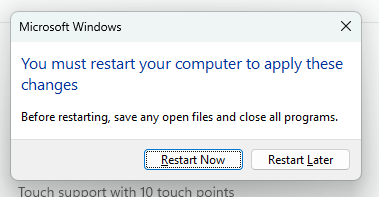
8. then click ok, until a popup restart box appears as below. Then click restart now to finish creating our virtual memory before.
Ok, those are the tips and tricks this time about how to create virtual memory on Windows 11, I hope this article is useful and can be put into practice. If you have questions, please ask directly in the comments column below. That is all and thank you.






0 Comments
Come on ask us and let's discuss together
Emoji