Hello everyone, welcome back at porkaone. On this occasion, we will learn how to make a website a PWA. Let's follow the tutorial below.
PWA
PWA stands for progressive web apps, namely optimized web applications.
Optimizing the web application will make the website faster and make the
website feel like a native mobile app. Making web applications into PWAs also
eliminates the need for you to create a separate mobile application, making it
more cost-effective and labor-intensive.
How to make PWA is also quite easy, all the web applications that you have can
be optimized to become PWA. PWA is formed from service worker technology,
manifest and several other technologies. This allows applications to receive
notifications and applications can still be accessed offline by saving certain
data.
The difference between an ordinary website and a PWA is that there is an installation icon like the image below.
When clicked, the application will be installed without having to open the browser first. You can find this install icon on desktop and mobile browsers. When installed on a mobile device, PWA will remove the appbar and create a splash screen when the application is accessed.
An Easy Way to Make a PWA Application on a Website
1. Create a new folder with the name practice_pwa. Then create some folders and empty files in them like the following folder structure. sahretech.png is the logo that we will use later.

|
| Folder Structure |
2. Open and edit the index.html file with the script below. For example, we only make a simple website display with bootstrap.
  <!DOCTYPE html>
  <html lang="en">
  <head>
      <meta charset="UTF-8">
      <meta name="viewport" content="width=device-width, initial-scale=1.0">
      <meta http-equiv="X-UA-Compatible" content="ie=edge">
      <meta name="Description" content="Enter your description here" />
      <link rel="stylesheet" href="https://cdnjs.cloudflare.com/ajax/libs/twitter-bootstrap/5.1.0/css/bootstrap.min.css">
      <link rel="stylesheet" href="https://cdnjs.cloudflare.com/ajax/libs/font-awesome/5.15.4/css/all.min.css">
      <meta name="theme-color" content="#0d0072" />
      <link rel="manifest" href="js/web.webmanifest">
      <link rel="apple-touch-icon" href="img/sahretech.png">
      <title>Home</title>
  </head>

  <body style="background-color: #9e9e9e2b;">
      <div class="container mt-5">
          <div class="alert alert-info">
              <h4>
                  How to Make a PWA Application on a Website - sahretech
              </h4>
          </div>
          <div class="card">
              <div class="card-body">
                  <h3>What is PWA?</h3>
                  PWA stands for progressive web apps, namely optimized web applications. Optimizing the web application
                  will make the website faster and make the website feel like a native mobile app. Making web applications
                  into PWAs also eliminates the need for you to create a separate mobile application, making it more
                  cost-effective and labor-intensive.

                  How to make PWA is also quite easy, all the web applications that you have can be optimized to become
                  PWA. PWA is formed from service worker technology, manifest and several other technologies. This allows
                  applications to receive notifications and applications can still be accessed offline by saving certain
                  data.
                  <br><br>
                  <a href="about.html">About</a>
              </div>
          </div>
      </div>
      <script src="https://cdnjs.cloudflare.com/ajax/libs/popper.js/2.9.2/umd/popper.min.js"></script>
      <script src="https://cdnjs.cloudflare.com/ajax/libs/twitter-bootstrap/5.1.0/js/bootstrap.min.js"></script>
      <script src="js/register.js"></script>
  </body>

  </html>
3. Then open and edit the about.html file with the script below.
<!DOCTYPE html>
  <html lang="en">
  <head>
      <meta charset="UTF-8">
      <meta name="viewport" content="width=device-width, initial-scale=1.0">
      <meta http-equiv="X-UA-Compatible" content="ie=edge">
      <meta name="Description" content="Enter your description here" />
      <link rel="stylesheet" href="https://cdnjs.cloudflare.com/ajax/libs/twitter-bootstrap/5.1.0/css/bootstrap.min.css">
      <link rel="stylesheet" href="https://cdnjs.cloudflare.com/ajax/libs/font-awesome/5.15.4/css/all.min.css">
      <meta name="theme-color" content="#0d0072" />
      <link rel="manifest" href="js/web.webmanifest">
      <link rel="apple-touch-icon" href="img/sahretech.png">
      <title>About</title>
  </head>

  <body style="background-color: #9e9e9e2b;">
      <div class="container mt-5">
          <div class="alert alert-info">
              <h4>
                  How to Make a PWA Application on a Website - sahretech
              </h4>
          </div>
          <div class="card">
              <div class="card-body">
                  <h3>About Sahretech?</h3>
                  Lorem ipsum dolor sit amet consectetur adipisicing elit. Animi non beatae nulla quidem a iure minima
                  ipsa natus id error rerum est hic voluptates in odio, labore eveniet corrupti doloribus.
                  <br><br>
                  <a href="index.html">Home</a>
              </div>
          </div>
      </div>
      <script src="https://cdnjs.cloudflare.com/ajax/libs/popper.js/2.9.2/umd/popper.min.js"></script>
      <script src="https://cdnjs.cloudflare.com/ajax/libs/twitter-bootstrap/5.1.0/js/bootstrap.min.js"></script>
      <script src="js/register.js"></script>
  </body>

  </html>
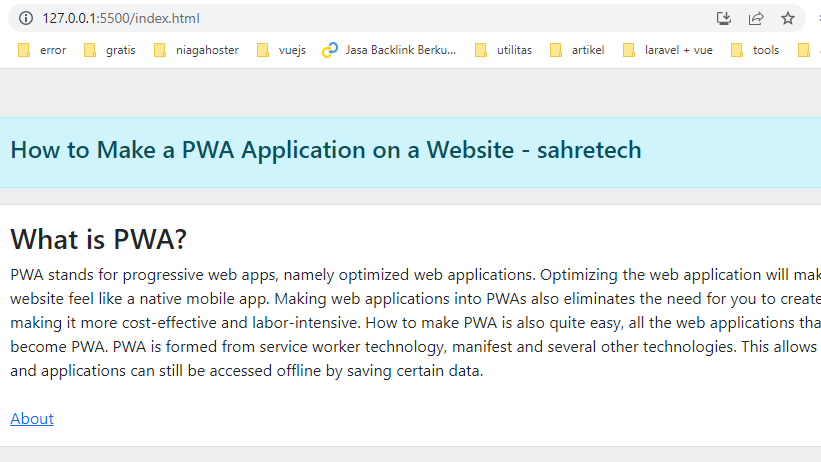
Ok, now try running the two html files above using the visual studio code live server extension. The result will look like the image below. It's very simple, because it's just practice, but feel free to improvise if you don't feel good.

|
4. Next, we start with the PWA creation stage. Open the web.webmanifest file. Follow the script as below. This file is the place to configure the application, such as specifying the icon, specifying the name of the application, specifying the color of the application, etc.
{
  "name": "Testing PWA",
  "short_name": "PWA",
  "description": "Create PWA App",
  "icons": [
      {
          "src": "../img/sahretech.png",
          "sizes": "192x192",
          "type": "image/png"
      }
  ],
  "start_url": "/",
  "display": "fullscreen",
  "theme_color": "#0d0072",
  "background_color": "#0d0072"
}
5. Next, open the register.js file and edit it like the script below. This script will be run when the application is accessed, the script below will register the service worker in the root folder.
document.addEventListener('DOMContentLoaded', init, false);

  function init() {
      if ('serviceWorker' in navigator && navigator.onLine) {
          navigator.serviceWorker.register('service_worker.js')
              .then((reg) => {
                  console.log('Service worker registration is successful', reg);
              }, (err) => {
                  console.error('Service worker registration Failed', err);
              });
      }
  }
Service worker is a PWA technology that allows websites to do push notifications, remove the app bar, run applications when offline and so on.
6. Finally, open the service_worker.js file then edit it with the script below.
const CACHE_NAME = 'SW001';
  const toCache = [
      '/',
      'js/web.webmanifest',
      'js/register.js',
      'img/sahretech.png',
  ];

  self.addEventListener('install', function(event) {
      event.waitUntil(
          caches.open(CACHE_NAME)
          .then(function(cache) {
              return cache.addAll(toCache)
          })
          .then(self.skipWaiting())
      )
  })

  self.addEventListener('fetch', function(event) {
      event.respondWith(
          fetch(event.request)
          .catch(() => {
              return caches.open(CACHE_NAME)
              .then((cache) => {
                  return cache.match(event.request)
              })
          })
      )
  })

  self.addEventListener('activate', function(event) {
      event.waitUntil(
          caches.keys()
          .then((keyList) => {
              return Promise.all(keyList.map((key) => {
              if (key !== CACHE_NAME) {
                  console.log('[ServiceWorker] Hapus cache lama', key)
                  return caches.delete(key)
              }
              }))
          })
          .then(() => self.clients.claim())
      )
  })
SW001 is the name of the cache created. So the service worker will cache all files that have been registered so that the application can run even without the internet later.
Trials
We have gone through all the stages, now it's time to do a trial run. Now try running our previous project using the live server extension. If successful, a download icon will appear as below.

|
After installation, an application icon will appear as shown below.

|
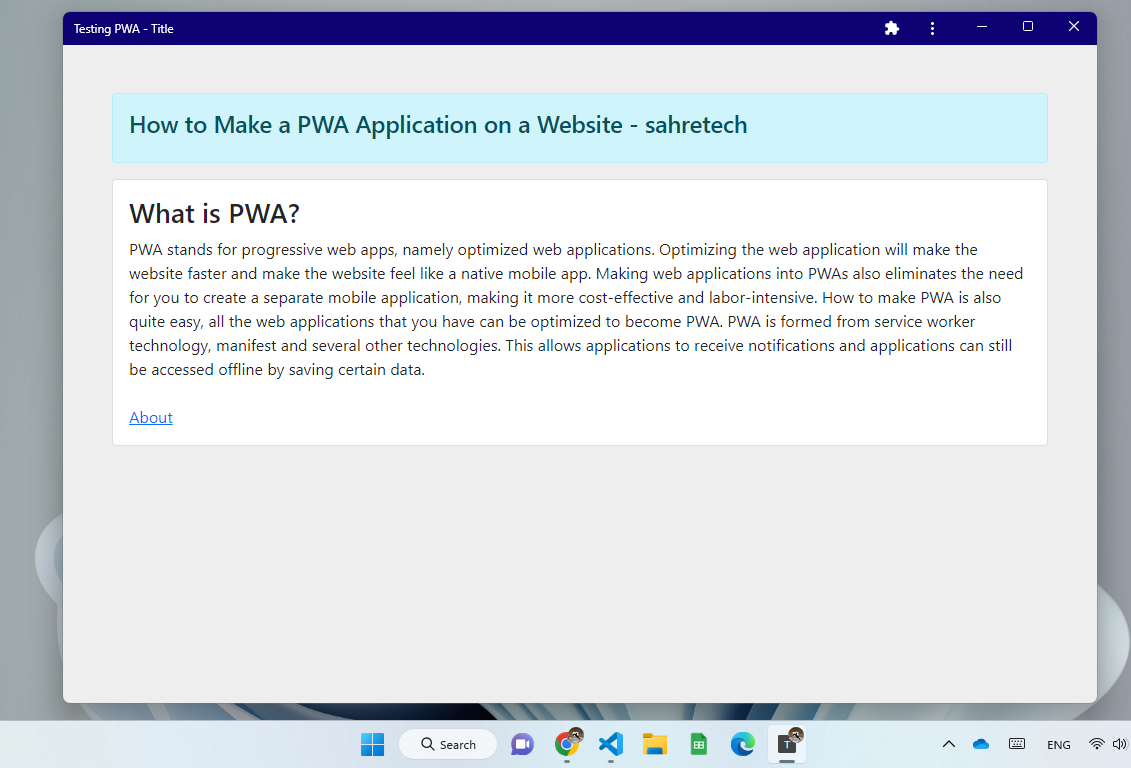
If accessed, the display will look like below.

|
| installed |
Now you know how to make a PWA. It's time for you to improvise using an
existing project.
Ok, that's all for our tutorial this time about Easy Ways to Make PWA
Applications on Websites. Hopefully this tutorial is useful and can be
practiced. If there are difficulties, please ask directly in the comments
column below. That is all and thank you.


0 Comments
Come on ask us and let's discuss together
Emoji